These traditional Czech no-bake sweets are known by various names - “beehive cookies”, “beehive treats”, or ”wasp nests”. Whatever the name, one thing never changes: everyone adores them. This version is a whole different level. The delicate dough made from oats, cashews, and date powder beautifully complements the banana base, which replaces the classic sponge finger and adds a pleasant flavour to the dessert.
And the filling? That's creamy BEWITELLA, which transforms an ordinary sweet treat into an absolute delicacy. The recipe is quick, no-bake, made from just 8 ingredients, and dangerously delicious. Just a few minutes and you'll have a sweet treat that disappears faster than you can say "boo".
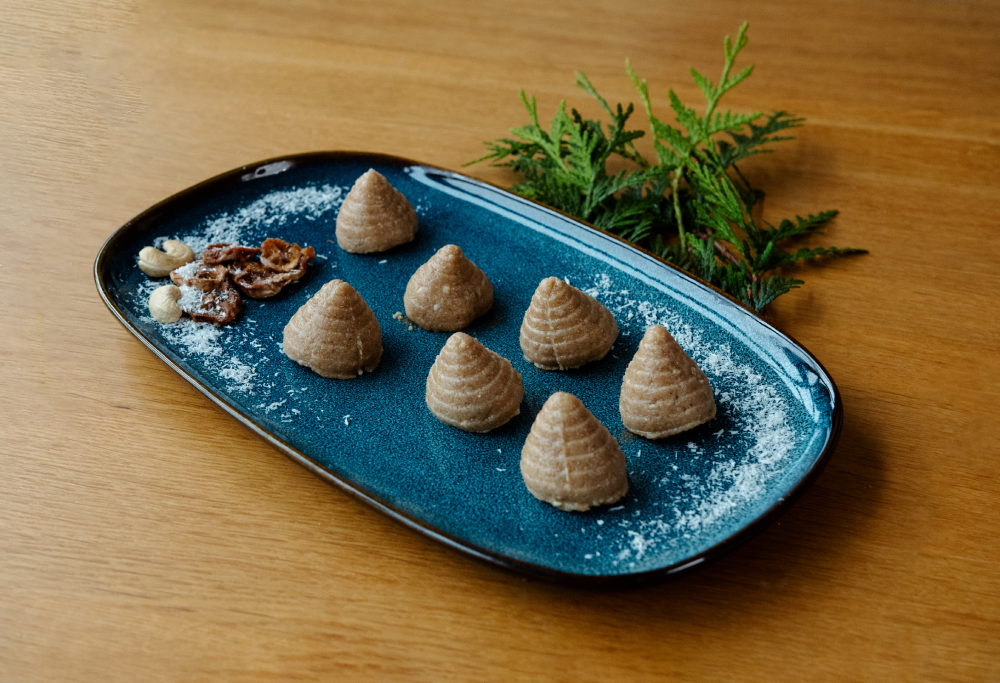
Charm your family and guests at the Christmas table with this amazing no-bake sweet treat
Christmas sweets bring people together. Whether family or friends stop by for the holidays, or you're visiting them, no-bake hives are the ideal treat or small gift. They will surprise you with their simple preparation, great taste, and will delight everyone you offer them to.
The delicate, fragrant dough, sweet banana, and smooth nut cream create a combination that adults and children alike will enjoy, perfectly complementing the true Christmas atmosphere. So, let's get to it!
Wasp nests, bee hives – what's the correct name?
The names of this Christmas sweet treat are almost as diverse as family traditions. Some swear by wasp nests because their shape resembles small nests, while others call them bee hives after old straw beehives. And then there's the compromise in the form of wasp hives. So, what's the correct name? That's entirely up to you. The most important thing is that they taste good! And you'll simply adore those made with BEWITELLA.
Recipe for wasp nests with BEWITELLA
What will you need?
For the dough:
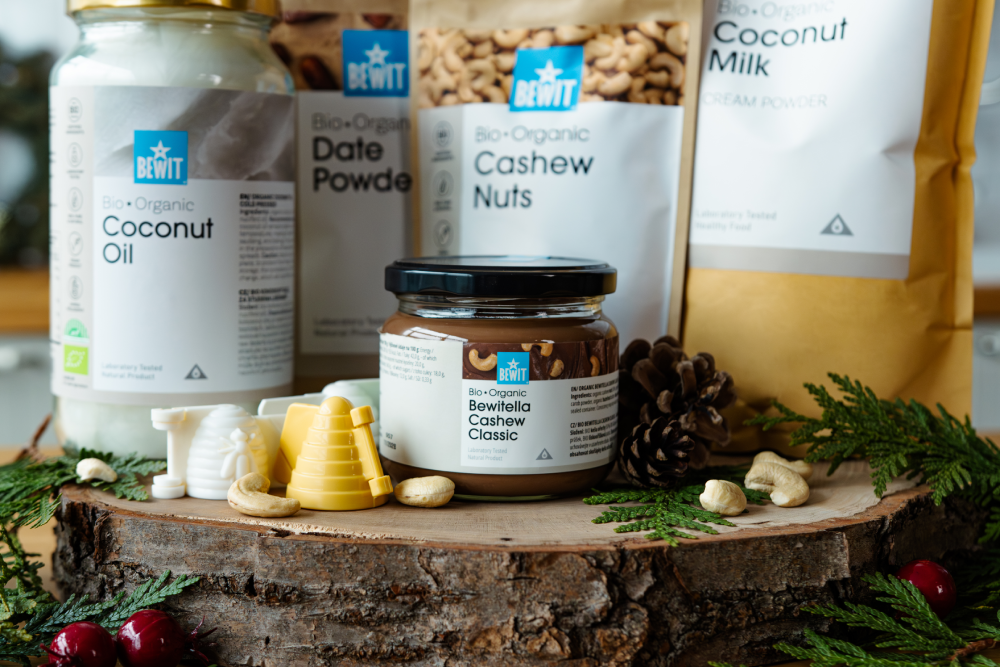
100 g rolled oats
80 g cashew nuts
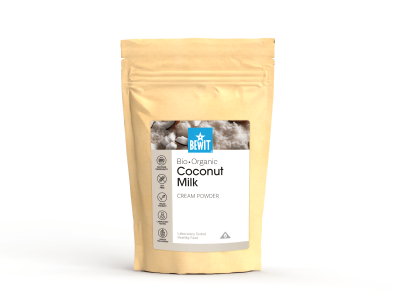
30 g coconut cream powder
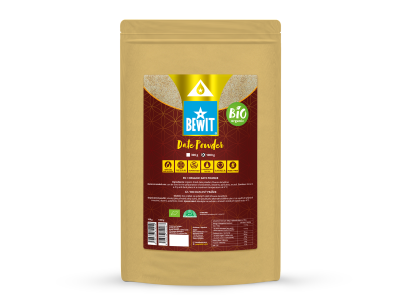
80 g date powder
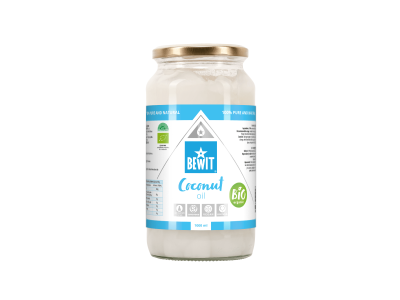
50 g melted coconut oil
3–4 tablespoons of water (as needed)
For the base of the hives:
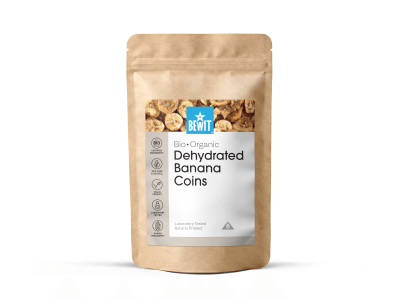
Dried banana slices, BIO
For the filling:
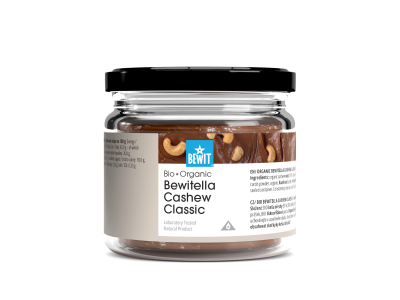
BEWITELLA Cashew Classic BIO
Method
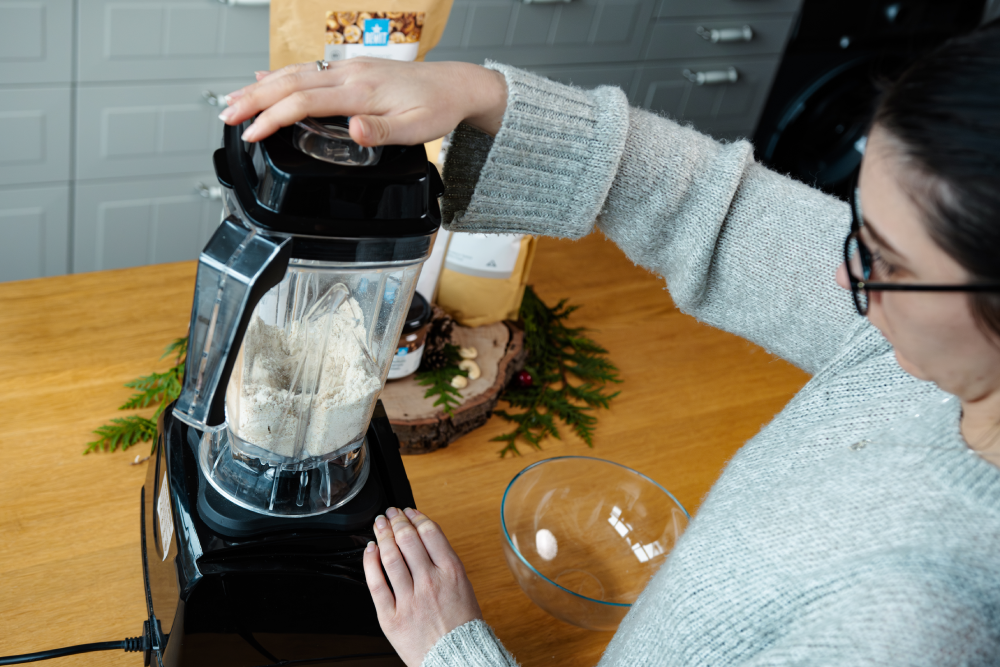
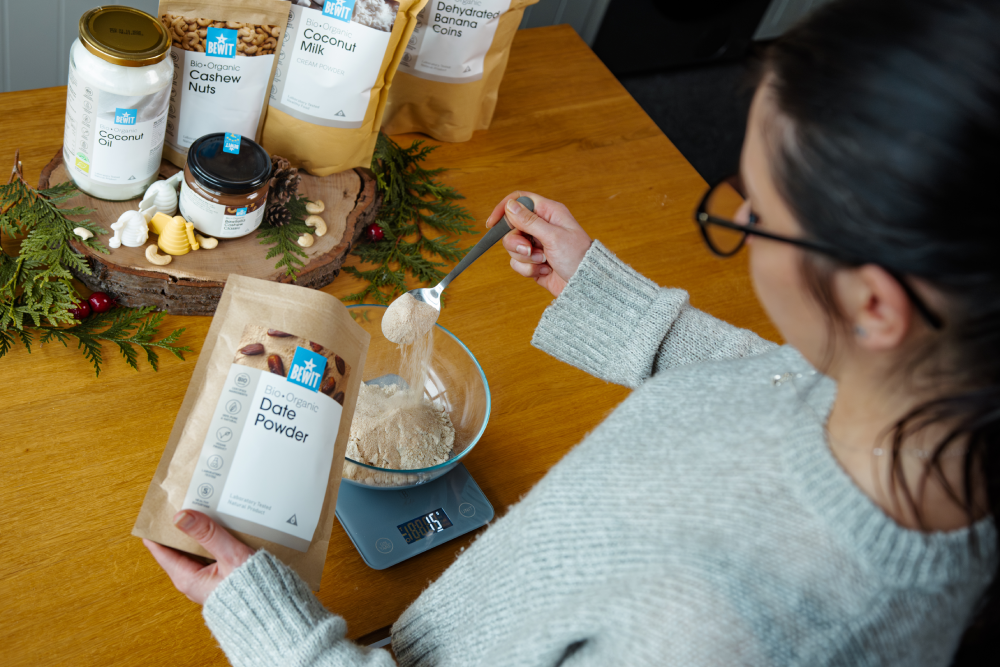
1. Blend the basic ingredients
Pour the rolled oats and cashew nuts into a blender. Blend them finely to create a fine "flour". This will determine the texture of the entire dough, so make sure there are no large pieces left.
2. Combine the dry ingredients
Transfer the blended mixture to a large bowl and add the coconut milk powder and date powder. Mix everything thoroughly to ensure the ingredients are evenly combined.
3. Add coconut oil
Melt the coconut oil in a small bowl and, while still warm, pour it into the dry mixture. The oil will help bind all the ingredients and give the dough a delicate coconut aroma.

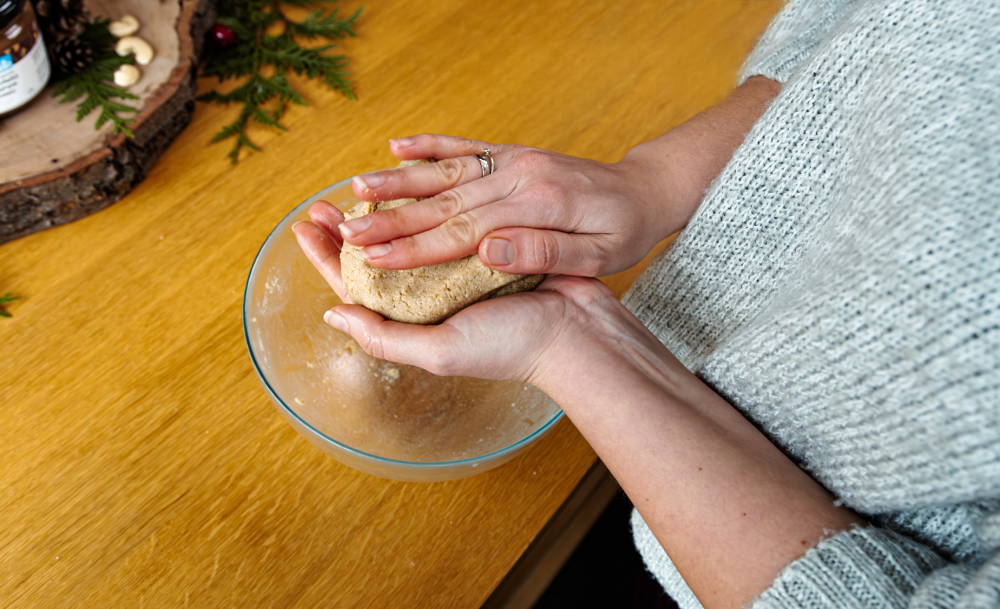
4. Adjust consistency and knead the dough
Add three tablespoons of water and start working the dough with your hands. If the mixture crumbles or is too stiff, gradually add more water, one teaspoon at a time. The resulting dough should be soft, easily pliable, and should not stick.
5. Let the dough rest
Wrap or cover the finished dough and refrigerate for at least 3 hours. It will firm up, be much easier to work with, shaping will be more precise, and the hives will hold their shape better.
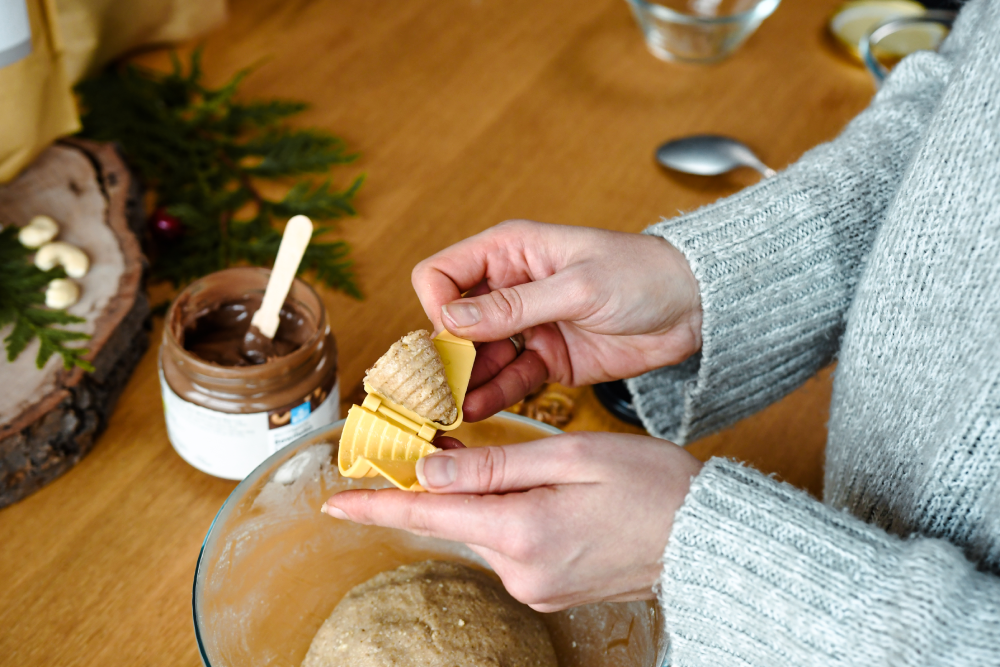
6. Shape the wasp hives
Remove the chilled dough from the fridge and form it into small balls. Place a ball into a wasp hive mould and press it lightly. Use a special tool within the mould to create a hollow. You can also use your fingers or a wider skewer. Work carefully to avoid damaging the walls of the hive.
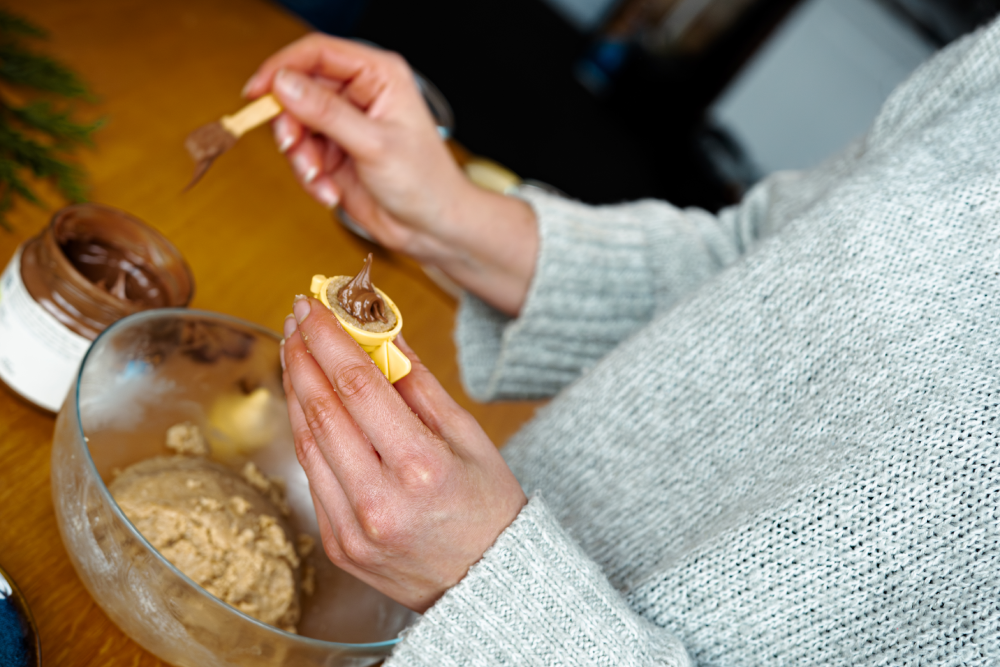
7. Fill the hives with BEWITELLA
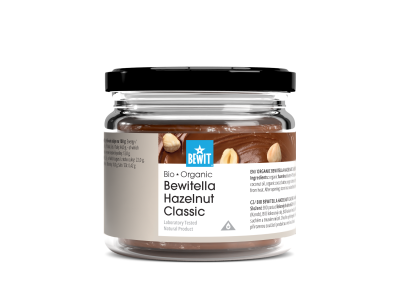
Fill the created hollow with BEWITELLA Cashew Classic BIO cream. You can fill it with a spoon, a knife, or a piping bag. If you enjoy hazelnut flavours, you can also try the BEWITELLA Hazelnut Classic BIO variant. Close the filled hive with a dried banana slice. This replaces the classic sponge finger and beautifully complements the flavour of the sweet treat.
8. Decorate the finished sweets
Carefully remove the finished hives from the moulds. You can lightly sprinkle them with desiccated coconut, cocoa, or leave them as they are, as they are delicious on their own. And you're done! The sweets are ready to serve immediately.
Tips to make preparing the hives easier
-
Is the dough stickier than it should be? Try mixing in a little finely ground rolled oats. The dough will firm up, be easier to work with, and won't lose its delicacy.
-
Is the dough crumbling instead? Add a small teaspoon of coconut oil or a few drops of water. Only a little is needed – the mixture will quickly soften and achieve the ideal consistency for shaping.
-
Do you want hives with a more pronounced Christmas flavour? A pinch of cinnamon, a drop of vanilla extract, or a little grated orange zest can beautifully enhance the flavour of the dough without overpowering the BEWITELLA itself.
-
Don't have hive moulds? Don't despair, you can also shape the dough by hand. Roll a ball, create a hollow with your thumb, and carefully shape it into the iconic hive shape with your fingers. The appearance will be a little more rustic, but that doesn't matter, because the taste will remain just as delicious!
And finally, a little history
Christmas sweets have a long tradition in European culture, dating back to the Middle Ages. Originally, they were not sweets in the modern sense, but rather ceremonial pastries that had a symbolic or protective function. The pastries were baked from simple ingredients, often with added honey, nuts, or dried fruit. They also had a place in Christmas rituals: they were hung on trees, given to carol singers, or placed in stables as "protection" for the coming year.
15th–17th century
With the spread of spices (cinnamon, cloves, nutmeg), the first sweet gingerbread and spiced pastries began to emerge. They were expensive, and therefore only baked on exceptional occasions – Christmas was the ideal time.
18th–19th century
The availability of sugar and flour paved the way for modern sweets. The repertoire we know today began to appear: Linzer biscuits, bear paws, gingerbread, vanilla crescents. Households passed down recipes through generations, and they gradually differed regionally.
20th century
Baking sweets became an integral part of Christmas traditions. Families collectively baked several types, often weeks in advance. Recipes began to spread in cookbooks and later in magazines.
21st century
Classics still hold their place, but modern variations are emerging, such as healthier, no-bake, gluten-free, or plant-based versions. Emphasis is placed on quality ingredients, simplicity, and pure taste. And this is exactly where no-bake nut hives with BEWITELLA fall, combining tradition and modern sweets.
Frequently asked questions about wasp hives
1. Can hives be prepared without moulds?
Yes. You can shape the dough by hand – create a ball, press a hollow into it with your thumb, and carefully shape it into a hive with your fingers. The appearance will be slightly rustic, but just as tasty.
2. Can other BEWITELLA be used?
Yes, BEWITELLA Hazelnut Classic BIO also works wonderfully, adding a delicious hazelnut flavour to the sweets.
3. The dough is crumbling – what to do?
Add a few drops of water or a little coconut oil. The mixture will quickly come together.
4. The dough is sticky – how to save it?
Mix in a small amount of finely ground oats or oat flour.
5. Can hives be prepared without cashew nuts?
Cashews give the dough its delicacy, but you can replace them with almonds, for example. Completely without nuts, the recipe would require more significant adjustments.
6. Is it possible to use an alternative instead of dried banana?
Yes. Coconut chips, gluten-free biscuits, or a small piece of a raw bar are suitable. There are no limits to your imagination.